Results 1 to 10 of 15
Thread: B747-400 Cockpit Project WIP.
-
03-21-2008, 01:34 PM #1Banned

- Join Date
- Feb 2007
- Location
- Usa
- Posts
- 202
B747-400 Cockpit Project WIP.
I don't know if this would be the correct area for posting this but essentially it is a cockpit building project........ except its in 3D Space.
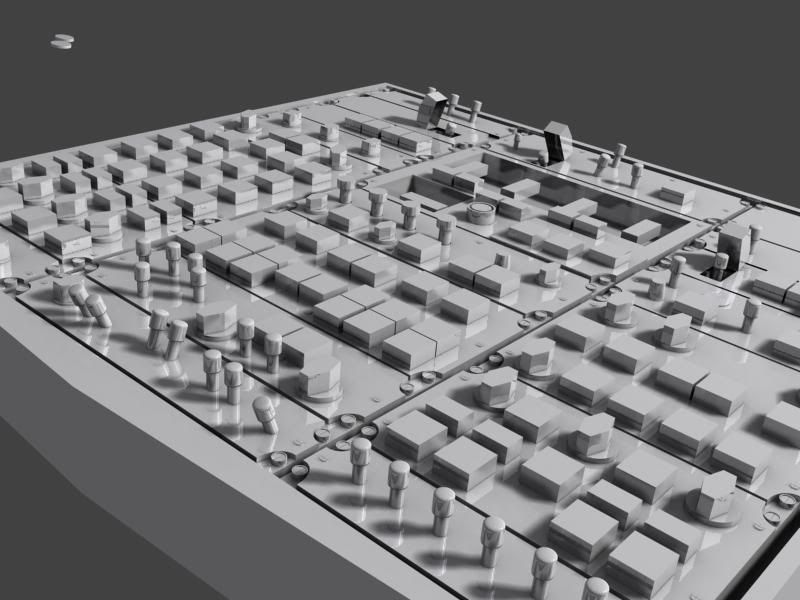
I've decided to undertake a personal project of modeling the cockpit interior of the 747-400 and I started with the overhead panel:
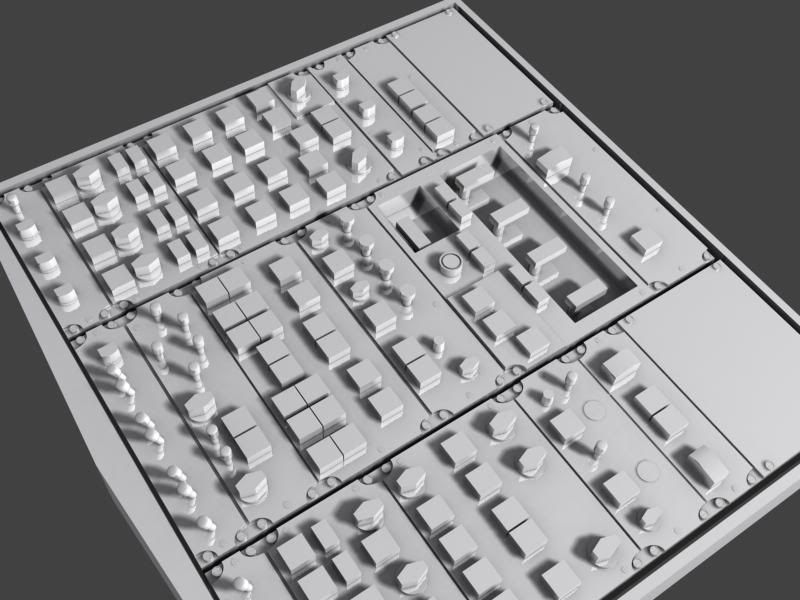
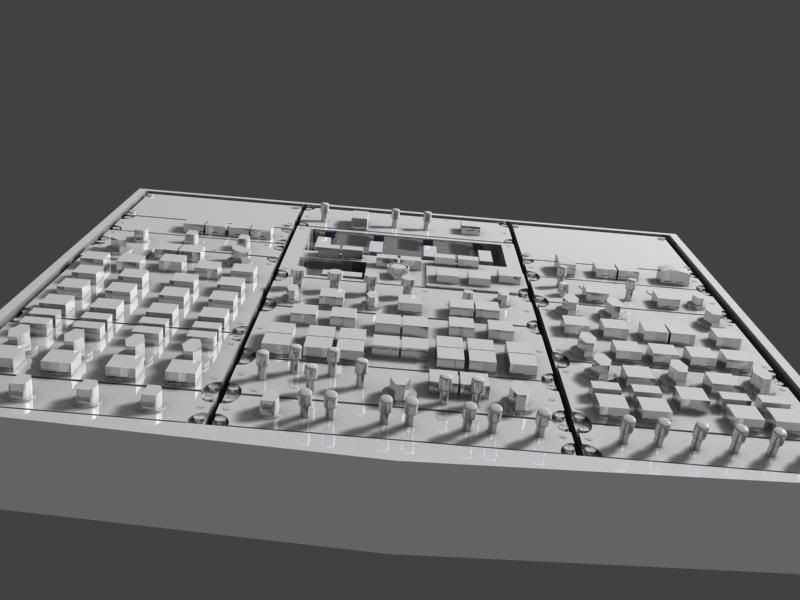
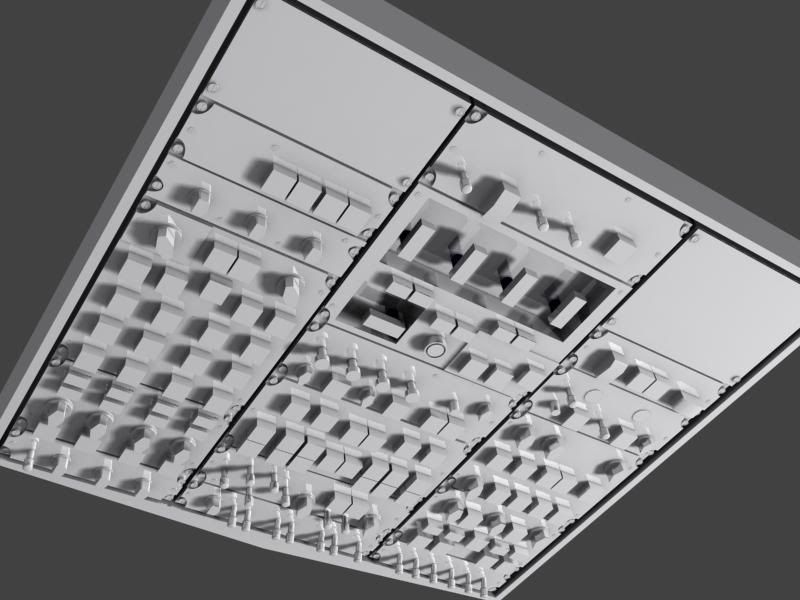
Basically, I've been using reference image of the PMDG 747 for this model but a user on another message board forwarded me a diagram of the overhead panel which has some swtiches and buttons that are not found on the PMDG's version of the overhead panel so those will be added later on tonite. These images are what was so far completed as of last night.
Hope you guys like.
-
Post Thanks / Like - 3 Thanks, 0 Likes, 0 Dislikes
-
03-21-2008, 04:33 PM #2Banned

- Join Date
- Nov 2005
- Location
- Canada
- Posts
- 148
Very Nice. Looking fwd to seeing more of your interior come together.
As for the the switches, each airline has its own option for systems that it can add or not have which can change the overhead panel which is why the PMDG model may be slightly different than some other overheads you may see on airliners.net.
Gary
-
03-21-2008, 11:42 PM #3Banned

- Join Date
- Feb 2007
- Location
- Usa
- Posts
- 202
Ah ok. I thought there was just one layout for all of the aircrafts.
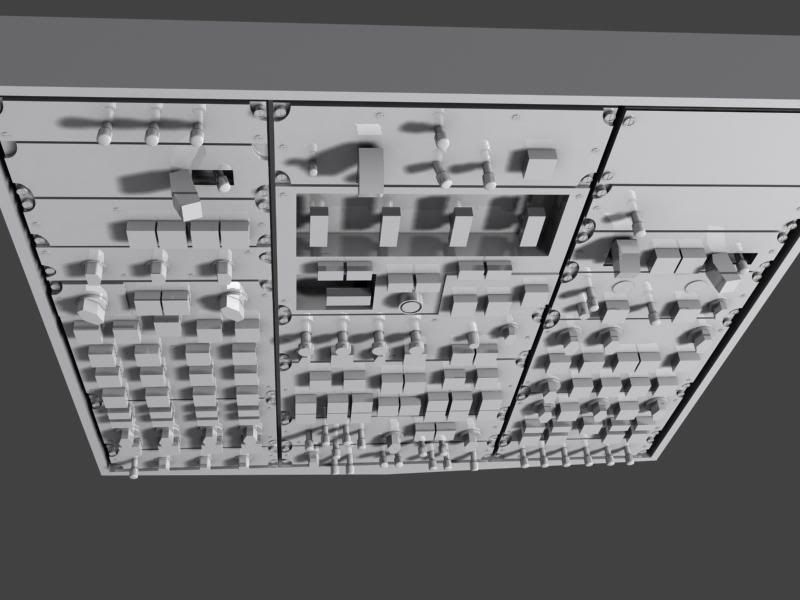
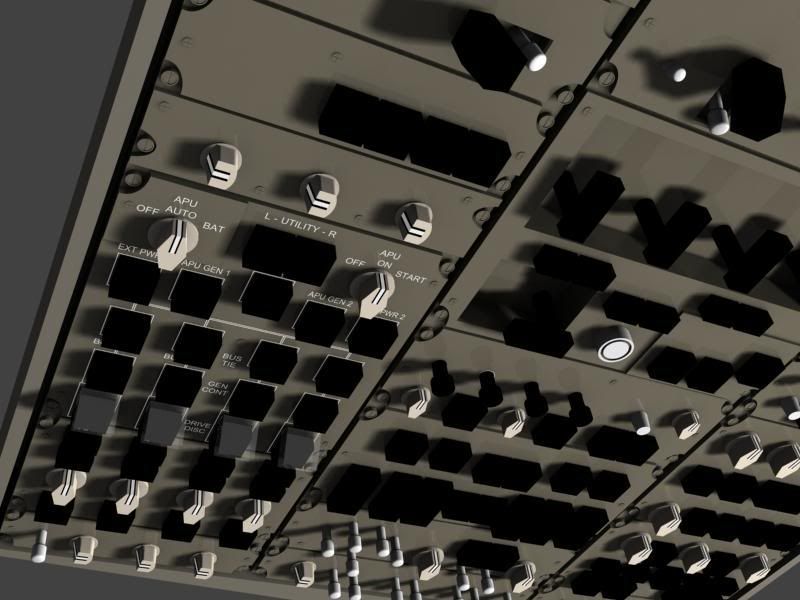
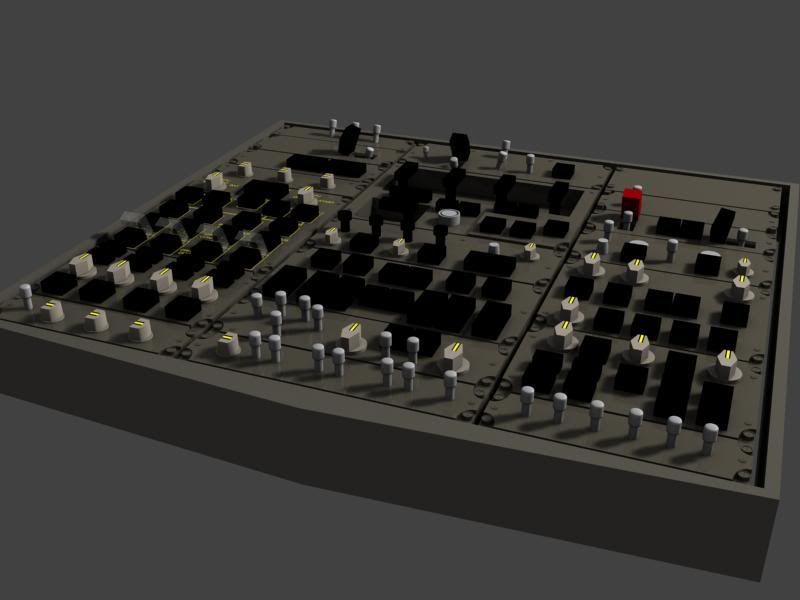
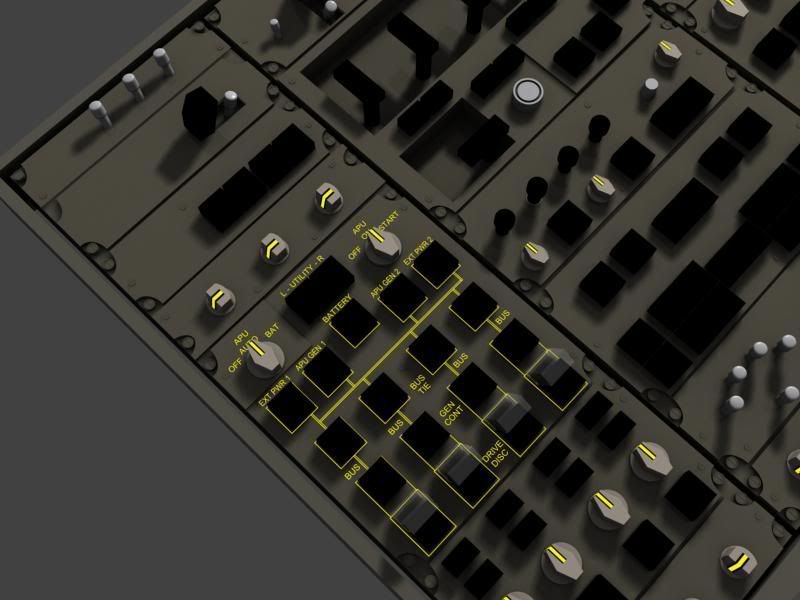
Here some updates:
-
03-22-2008, 08:24 AM #4
Very very very nice! so im not the only one doing this

If you want i have a load of 3D models like knobs, anunciators and korrys that i have for the 744 measured from there real life parts i can send you if you like.
What cad system are you using?
Its quite funny, i have the mip and pedistal panel nearlly done, the only thing yet to do is the overhead ohh and throttle quad
Well done.
P.s. how the **** did you get them to appear back lighted? is it texture overlay?
-
03-24-2008, 12:42 PM #5Banned

- Join Date
- Feb 2007
- Location
- Usa
- Posts
- 202
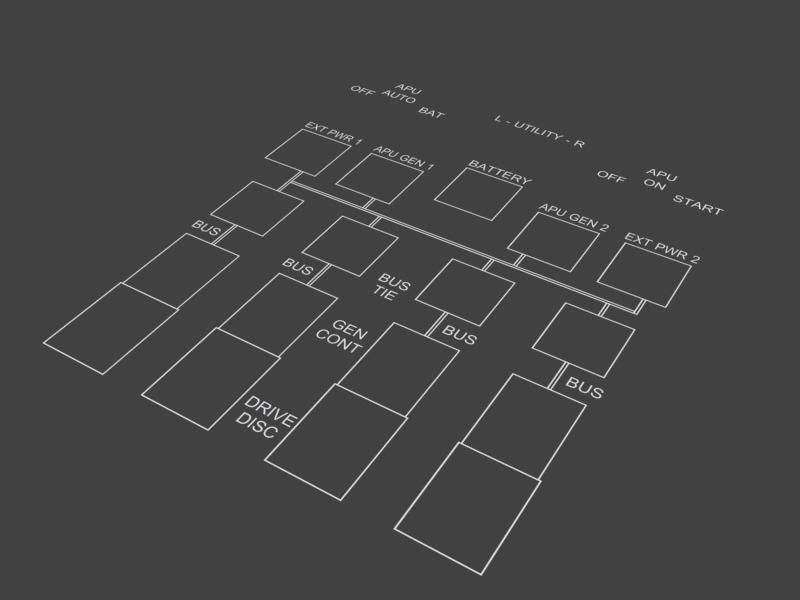
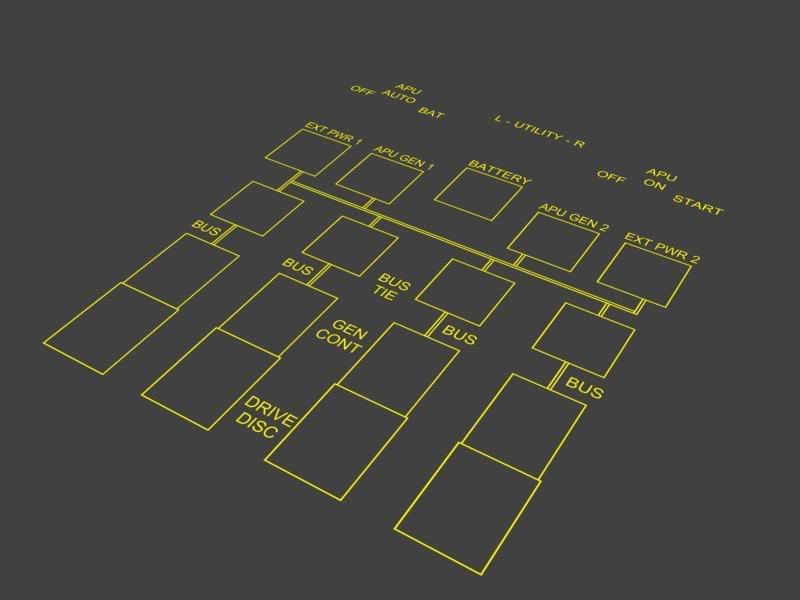
Hi and thank you for the comments. The software I'm using is 3D Studio Max 8. Its a 3D animation and visual effects creation software. Thats cool that you are doing a project like this as well. I thought I was the only one doing this as well lol. For the backlighting they are basically splines that I just assigned a color to in the materials dialog box and I can change the colors faster that way. The splines are basically overlayed ontop of the overhead panel. See exapmles at the bottom of this post. I've tried texturing the traditional way using UVmap texturing but cannot get the scaling correct and I find it harder for me to do it that way. So this model will not have any type of bitmap texturing applied to it. As far as your models go, sure I'd like to use them as long as they are compatible with 3D Studio Max. I did an ok job on some of the knobs that I modeled but they could look better lol.
-
03-24-2008, 12:56 PM #6
Man, if only we could press print on that and have a "STAR TREK" Replicator create one..
Nice job!________________________
Trevor Hale
-
03-24-2008, 01:55 PM #7
Ahhhhh, thats how you did it, on mine i basically hollowed the panels out and the text overlay basically cut through the panels and on the rendering options i put a light source under the panel to have them shine through, but when i export the artwork to the engraver or router it screwed things up a bit, so now i just cut into the panel by 0.15mm and paint them.
If you let me know what file formats your cad system will accept (.IGES, .STP etc....) i will export them and send a few bits to you.
Here is what mine looks like at the moment, i really need to continue and do the 767 aswell!!!
Oh, by the way, i know i have the wrong display bezels in there, i quite like the 777 type displays but they dont fit..


-
Post Thanks / Like - 1 Thanks, 0 Likes, 0 Dislikes
 visualchaosfx thanked for this post
-
03-24-2008, 02:02 PM #8
OMG!!!
Amazing.. Simply Amazing. Makes you feel like you could almost reach out and touch them.
Nice Job Both of you!________________________
Trevor Hale
-
03-24-2008, 06:42 PM #9Banned

- Join Date
- Feb 2007
- Location
- Usa
- Posts
- 202
WOW!! Those are awesome!! Are you using AutoCad?
Looks like I can import .IGES files, Legacy Autocad(DWG), DXF. Are you using diagrams for these modeling sessions or are you just using photo references? These just looks so awesome!!! Great job!
Thanks for the comments Trevor.
-
03-24-2008, 07:46 PM #10
Ok, i will send you some things as IGES format tommorow when im at work
 keep in mind you will lose the color and any textures ive used. basically i have a shed load of real parts common to the 744, measuring those together with a few diagrams, photos and imagination im slowly getting there, yeah there are still a few things wrong, the rudder trim knob is well out but once you have everything together you can judge by eye to see if everything is correct, best thing i do if find a decent picture on the net, then pan the 3D design to match that of the photo including lighting conditions and lense type then compare the two, if somthing looks different then you know you have messed up somwhere.
Im using Solid Edge V20, very nice! (using company property for ones own personal gain )
)
Well done on the overhead panel, it is more complicated than you think and its a part im not looking forward to, keep up the good work
Similar Threads
-
New 737 cockpit project
By Gnorfie in forum Welcome to MyCockpit New here? Introduce Yourself!Replies: 0Last Post: 07-24-2009, 06:29 PM -
747 Cockpit Project
By Ruiner494 in forum Where to Start Building a Home CockpitReplies: 2Last Post: 12-19-2008, 11:42 AM -
B747 cockpit / panel dimensions
By Bas in forum Where to Start Building a Home CockpitReplies: 15Last Post: 11-28-2007, 07:26 AM -
B747-400 cockpit panels and associated electronics
By cheryl88 in forum Where to Start Building a Home CockpitReplies: 3Last Post: 04-24-2007, 10:19 PM -
B747-400 Home Cockpit Questions
By Pedalz in forum Where to Start Building a Home CockpitReplies: 1Last Post: 11-22-2006, 03:11 PM


 Reply With Quote


Meet Women Who Want Fun in Your City
5.Sharing an Essay about PIC16F877